
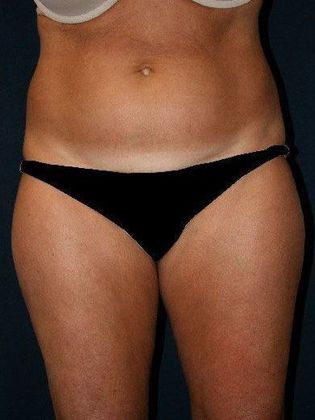
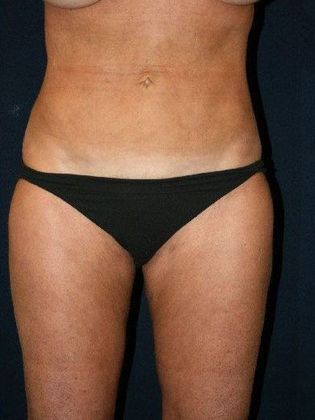
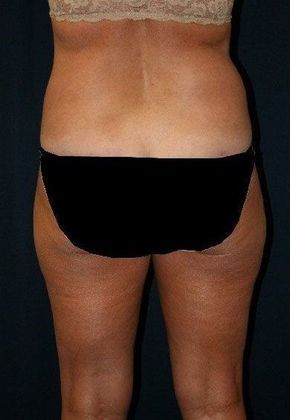
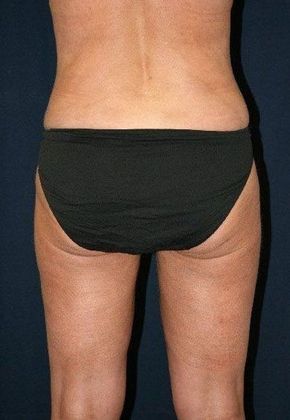
Liposuction & Safe Lipo: Case 9
Dr. James Murphy is a highly trained, board-certified plastic and reconstructive surgeon who has been in practice 25 years. He serves patients throughout Reno and Lake Tahoe and is affiliated with several prestigious organizations, including:
Schedule your consultation today by contacting us online or call (775) 322-3446. Se habla español. If you would like to text us during business hours, you can reach us at 775-993-9358. You can also send pictures to us with questions.


